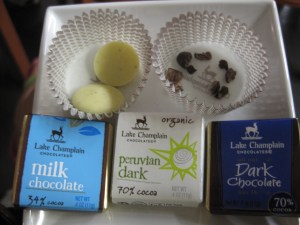
Chocolate tasting samples at Lake Champlain Chocolates, Burlington, Vermont.
I went to Burlington, Vermont in the fall of 2014 for a family road trip. We ate and drank our way through the city and Lake Champlain Chocolates was one of my favourite discoveries. I really like their dark chocolate, because it doesn’t contain milk products (I don’t like chocolate that has a lactic sour taste). Also, their white chocolate is the best I’ve ever had. The best part about Lake Champlain Chocolates is that they offer complimentary seminars on chocolate tasting. Their chocolate is available for sale at many Whole Foods locations. We really enjoyed their introduction to chocolate tasting and, although I’m a bit late in sharing this information, I hope it helps you enjoy, appreciate, and choose wisely from the abundance of chocolate that this coming Easter is sure to bring.
(On a side note, check out my Introduction to Coffee Tasting here.)
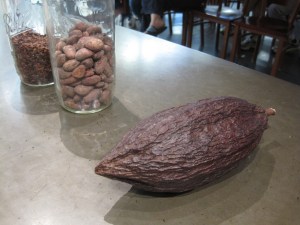
Cocoa pod, cocoa beans, cocoa nibs.

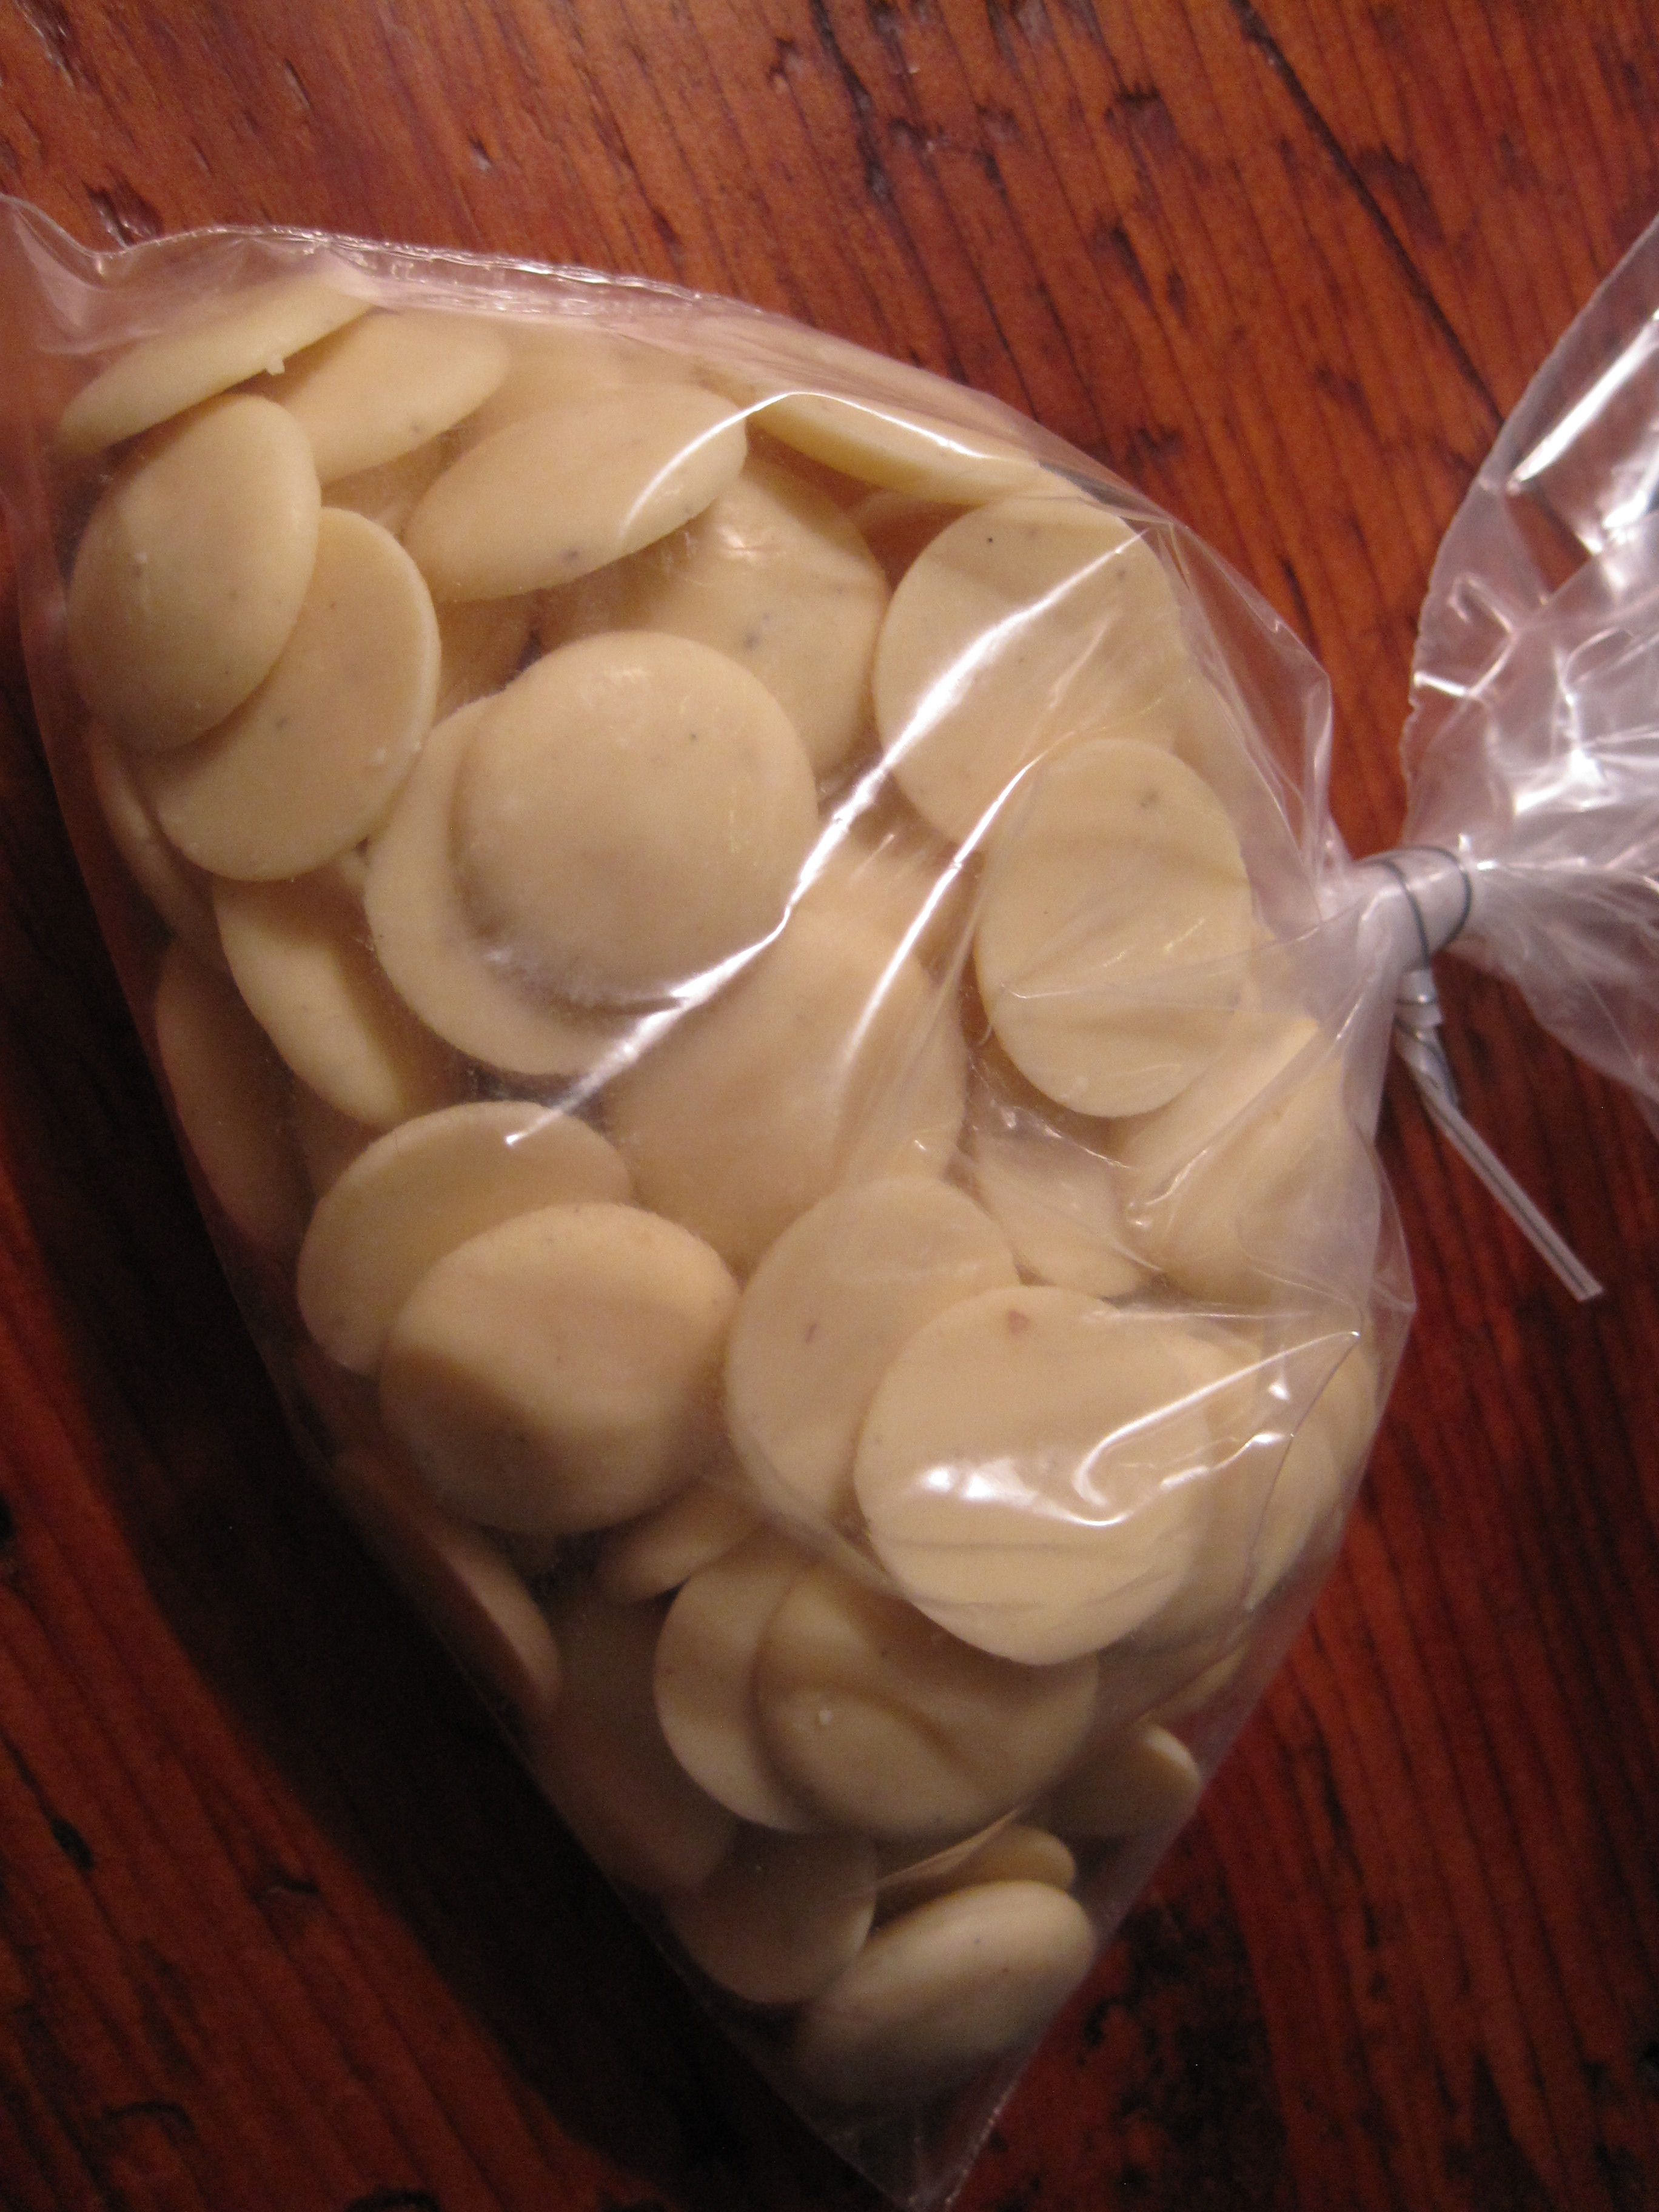
Lake Champlain’s white chocolate – The best white chocolate I’ve ever tasted!
Introduction to Chocolate Tasting
Facts About Ingredients
You should always read the list of ingredients on the chocolate packaging, so that you know the percentage of cocoa you’re getting, the added flavourings that were used, and whether you are purchasing a high quality product. As with all processed foods, the shorter and more natural the list of ingredients, the better.
Chocolate is made up of approximately half fat (cocoa butter) and half cocoa solids. Cocoa butter is the most expensive ingredient in chocolate, which is why lower end manufacturers will substitute this with other types of fat. If you see cocoa mass on the ingredients list, know that it means chocolate liquor. Personally, I don’t like chocolate that contains milk products, because it leaves a sour aftertaste, so keep an eye out for that. Finally, soybean is sometimes used as an emulsifier.
White chocolate is made of cocoa butter, sugar, milk and vanilla. White chocolate that has been made with vanilla beans tastes best, in my opinion.
Before Tasting the Chocolate
The most important lesson from chocolate tasting is to slow down the way that we consume it. [On a side note, this is in line with mindful eating, which is something that I’ve been striving to do.] It takes 30 to 45 seconds for our brains to process flavours using all of our senses, so we need to focus on the chocolate and take our time tasting it. Also, the best time for chocolate tasting is first thing in the morning, before the fragrances in our cosmetics and toothpaste have a chance to mess with our taste buds. What you eat before the tasting can also affect how you perceive the flavour notes in the chocolate.
Relying on your sense of taste alone isn’t enough to assess the flavour of chocolate. The concept of flavour is actually made up of three components: taste, aroma, and texture. Follow the tasting steps below to truly appreciate the complexities of chocolate’s flavour.
Chocolate Tasting Steps and Desirable Qualities
Step 1: Appearance.
Before unwrapping the chocolate, look through the list of ingredients. Then notice how the chocolate looks. For example, colour, shininess, smoothness, etc. The surface of good quality chocolate is smooth, shiny and without any imperfections. If you notice a white film or haze on the surface, the chocolate is likely still good to eat. This is called bloom and is simply the process of the fats in the chocolate moving to the top. This happens when chocolate is exposed to humidity.
Use your hands to break the piece of chocolate apart. Pay attention to how easily the chocolate breaks. It should be a nice and clean break. Furthermore, there shouldn’t be any scuff marks on the chocolate or air bubbles inside. If you do see air bubbles, that means that the machines used in the chocolate making process failed to tap all of the air out.
Step 2: Aroma.
After you’ve broken the piece of chocolate, bring it up to your nose, take a slow, deep breath in, and notice how it smells. Closing your eyes might help you to focus on the aroma.
Step 3: Flavour profile.
Different beans from different parts of the world all taste different, lending a unique profile to all chocolate products. For example, the African cocoa beans that come from areas that also grow vanilla have an inherent vanilla flavour because of cross pollination across the two plants.
Our taste buds are able to detect sweet, sour, salty, bitter, and umami, which is a deeply savoury taste. As soon as you bite into a piece of chocolate, take note of how long it takes for you to taste the chocolate. Good quality chocolate has a moderate to fast flavour release. Then pay attention to all of the flavour notes that you notice, as well as the order in which you taste them. For example, when I sampled a chocolate that had been made with beans from Guatemala, it tasted nutty at first, then bitter, then smoky, and then it had an acidic aftertaste. Good chocolate will have even flavour notes that are well blended. You might find it easier to focus on your sense of taste if you close your eyes. Remember to keep the chocolate in your mouth for a full 3o to 45 seconds before swallowing.
Here are some descriptive words for the flavour notes that you might smell and/or taste:
- lactic sour (from dairy)
- caramel (from caramelized sugar)
- musty
- earthy
- grassy
- fruity (e.g. citrus, berry)
- red fruits (e.g. raspberries, strawberries)
- brown fruits (e.g. raisins, prunes, dried cherries)
- floral
- spicy
- peppery
- vanilla
- liquor
- nuttiness or bitterness from nut skins
- cooked milk or steamed milk, which taste different
Step 4: Mouthfeel.
Observe how the chocolate feels in your mouth. Good quality chocolate has a fast melting time. Note that if cheap oils are used instead of pure cocoa butter, chocolate can have a waxy taste and/or texture. Also, observe whether the chocolate changes the way that your mouth feels afterwards. For example, when I sampled a piece of white chocolate, the texture was initially creamy, smooth, buttery, and ever so slightly waxy. Then it left my mouth with a slightly chalky feeling.
Some examples of terms used to describe mouthfeel include:
- gritty
- sandy
- chalky
- creamy
- smooth
- astringent (i.e. drying)
Step 5: Aftertaste.
After you have swallowed the chocolate, notice the aftertaste and how long it lasts. Sometimes, you will notice a spike of flavour followed by a clean aftertaste. Note that if the aftertaste lasts for more than a minute, there could be something off with the dairy or there may be a bad nut in the chocolate.


Hhahaa this is awesome 😀
i heard white chocolate really isn’t chocolate
Hi Gordon! Thanks for writing! I guess you could say that, since white chocolate contains the fat from the cocoa bean, but none of the cocoa solids. Good quality white chocolate is made with cocoa butter.