I just love do-it-yourself (DIY) projects, but I haven’t taken on very many (see my DIY stocking advent calendar here and DIY paw print keepsakes here), because they usually require a lot of basic tools and/or materials that I don’t have the spare cash or storage space for. So when I learned how easy it is and how few supplies you need to make your own cake stands, I just knew that it was just a matter of time before I’d get started on making these. You see, I love cake stands. I covet and I covet and I covet, but I haven’t purchased one yet, because all of the cake stands that I’ve seen and liked cost at least $80 each, and I just can’t justify spending that kind of money on things that I don’t actually need, that I don’t use often, and that take up significant cupboard space. But after sitting on this idea for over two years, I decided that my sister’s surprise 28th birthday party was the perfect occasion to justify owning and making some cake stands. I used them to display chocolate cupcakes with nutella frosting (recipe here). For contrasting height, I also served a two-layer strawberry and vanilla cake (recipe here) on a basic cake board.
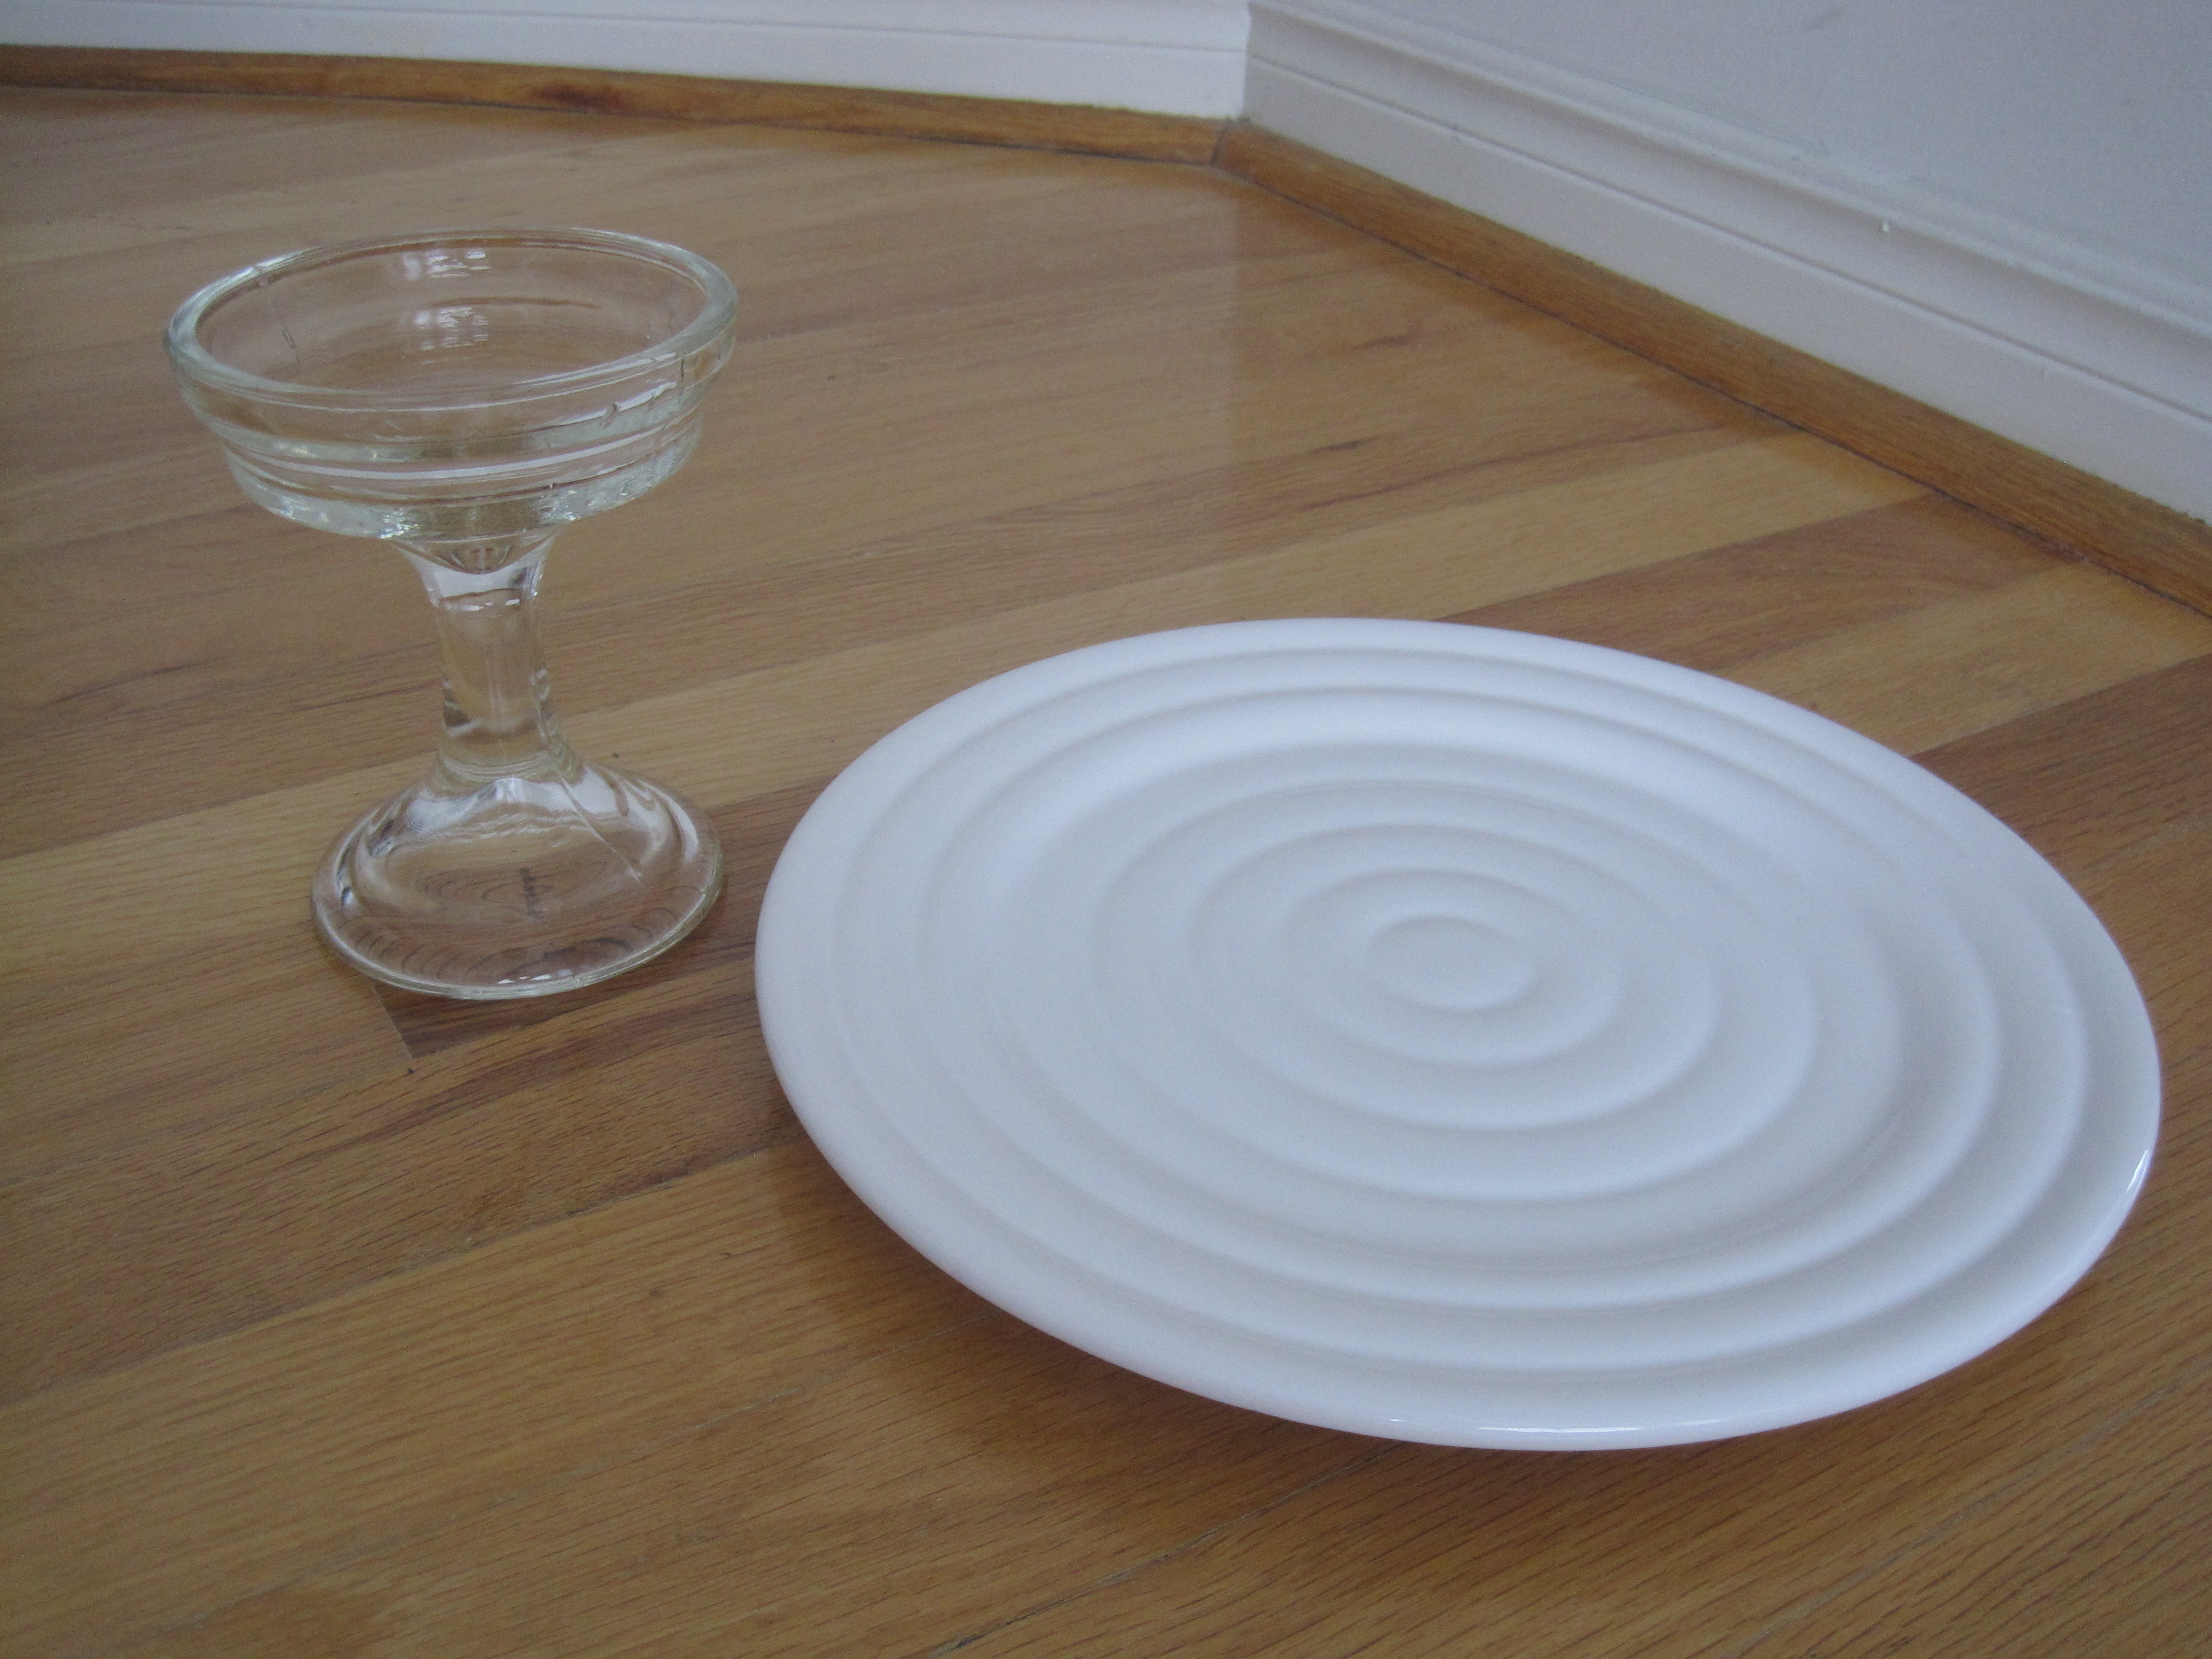
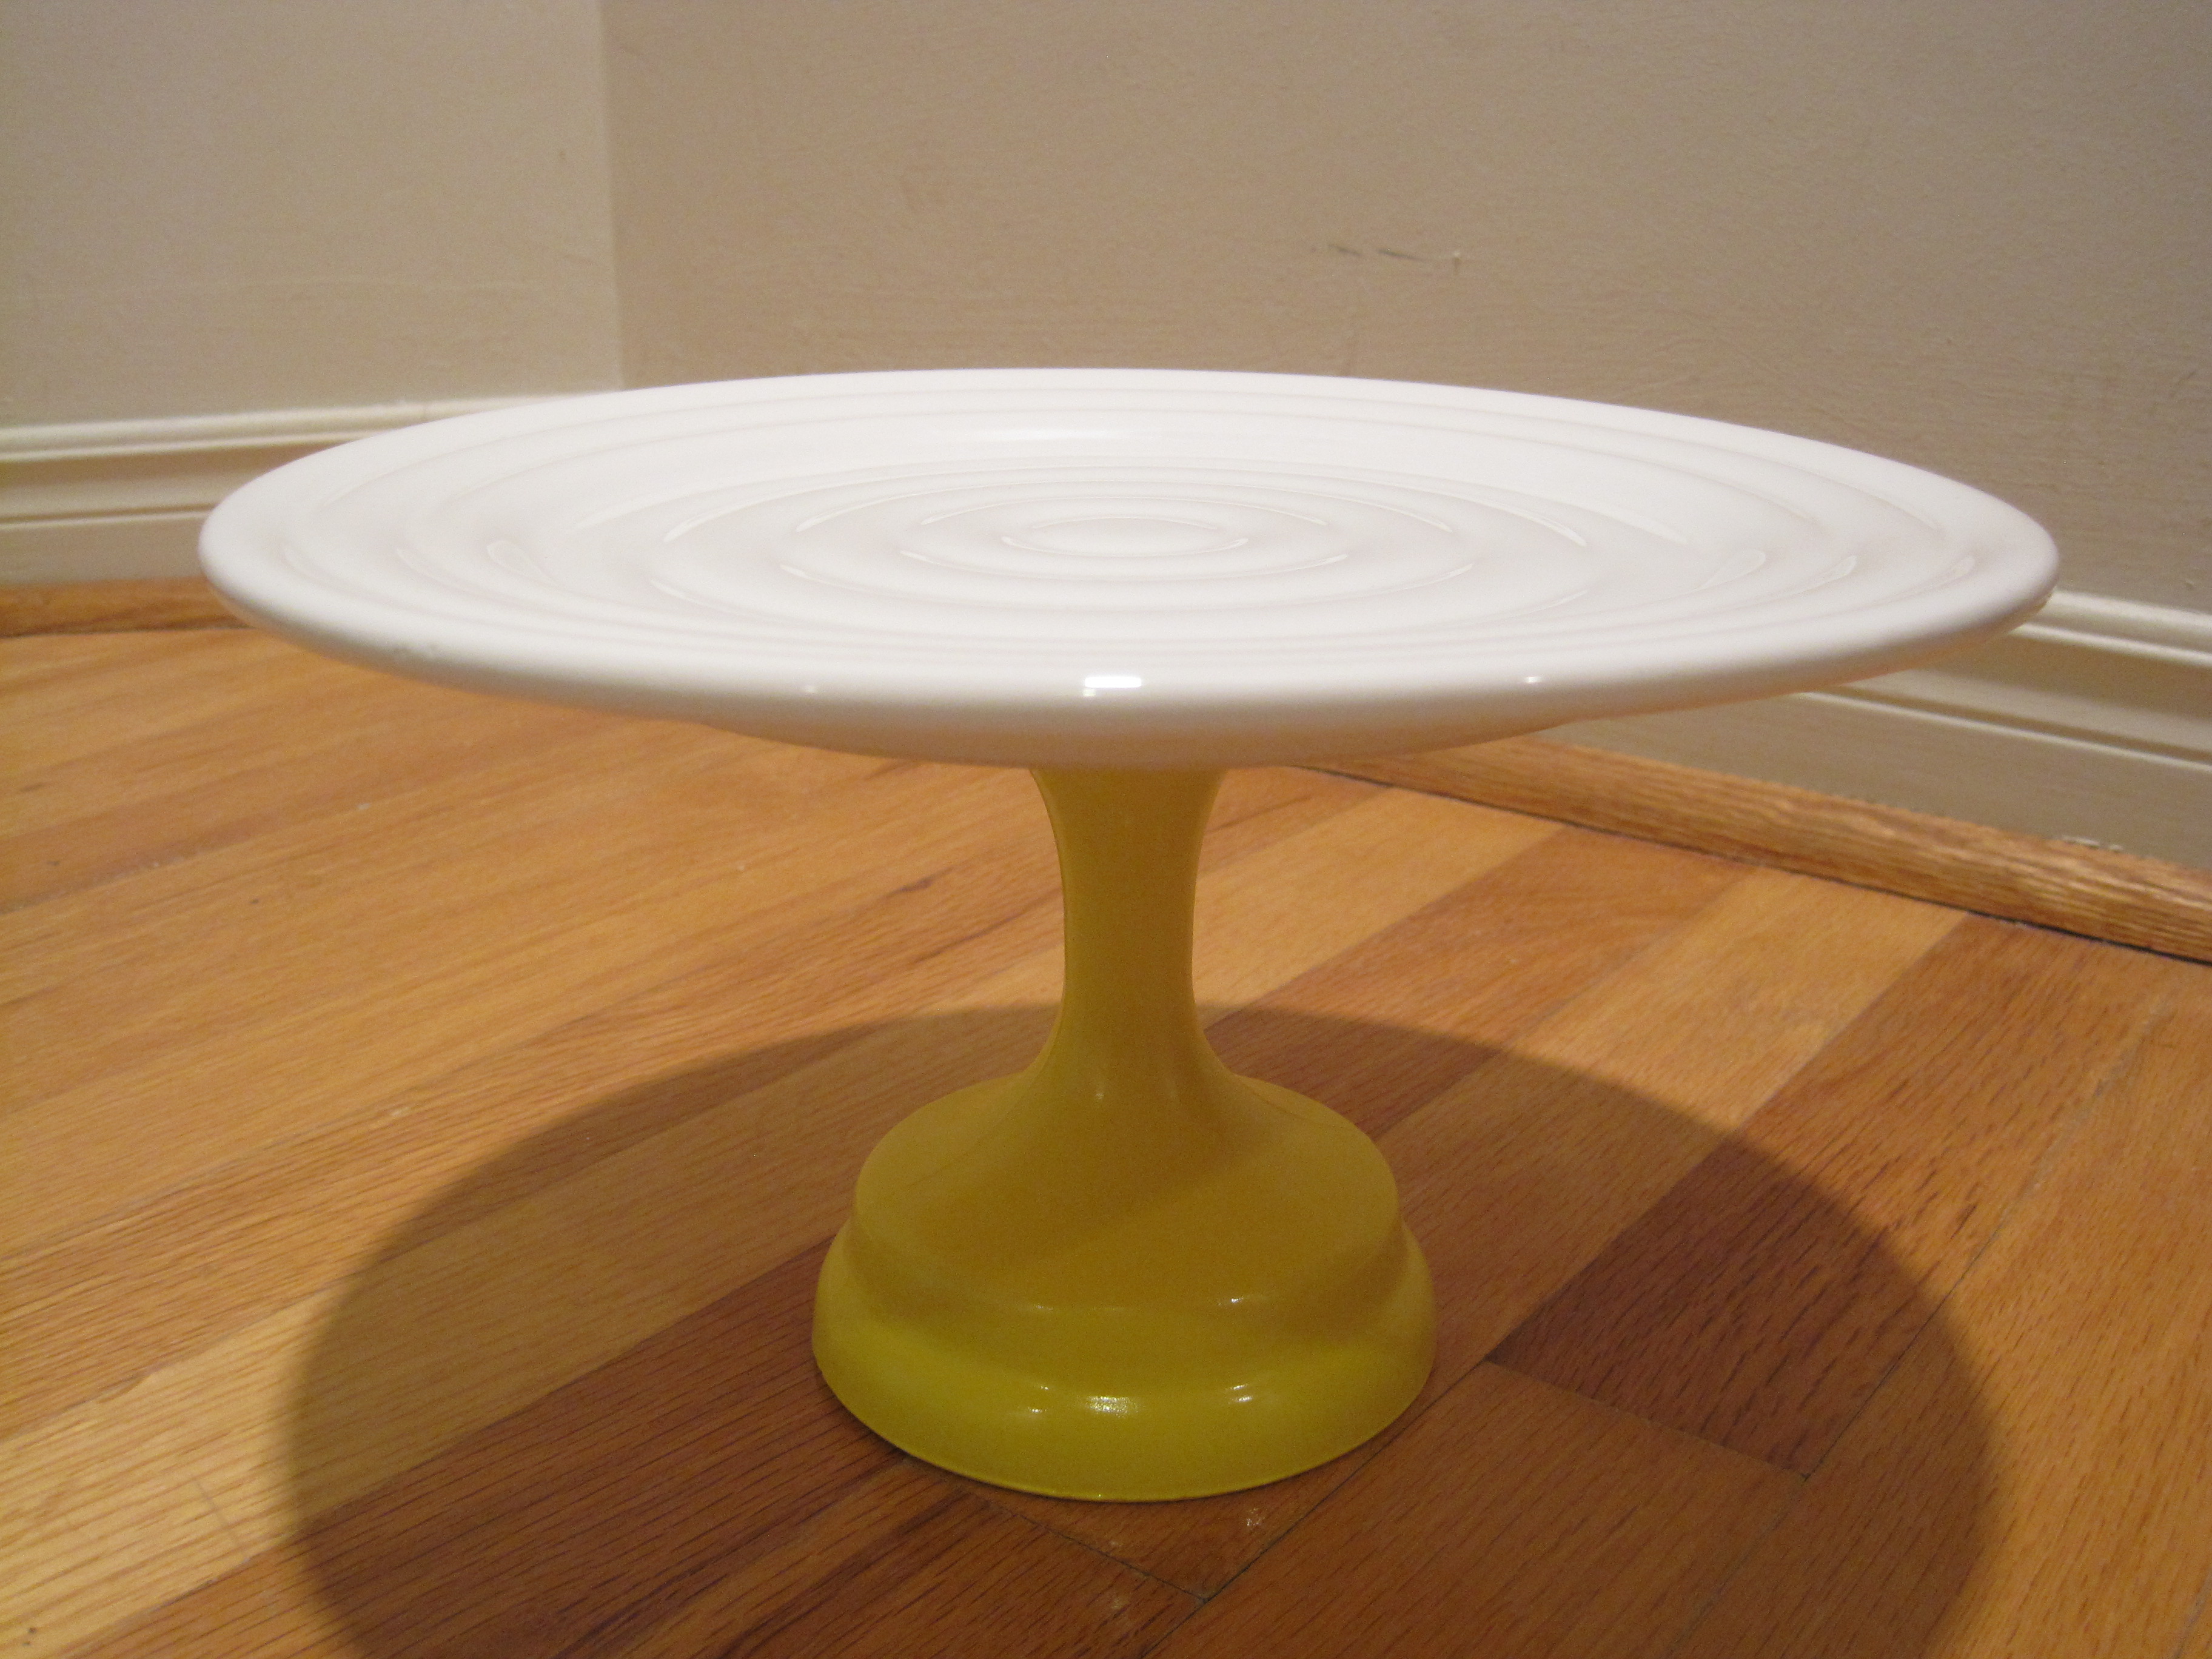
Photos below: You can see the before and after photos below. I was lucky enough to find this cute and unique white plate that was quite flat and in like new condition. It cost only $1 and I didn’t have to spray paint it, which also means that it’s completely food safe. I paired it with an interesting thick and heavy wine glass that I turned upside down. The wine glass cost $1 and I decided to spray paint it yellow for a fun and bright contrast.
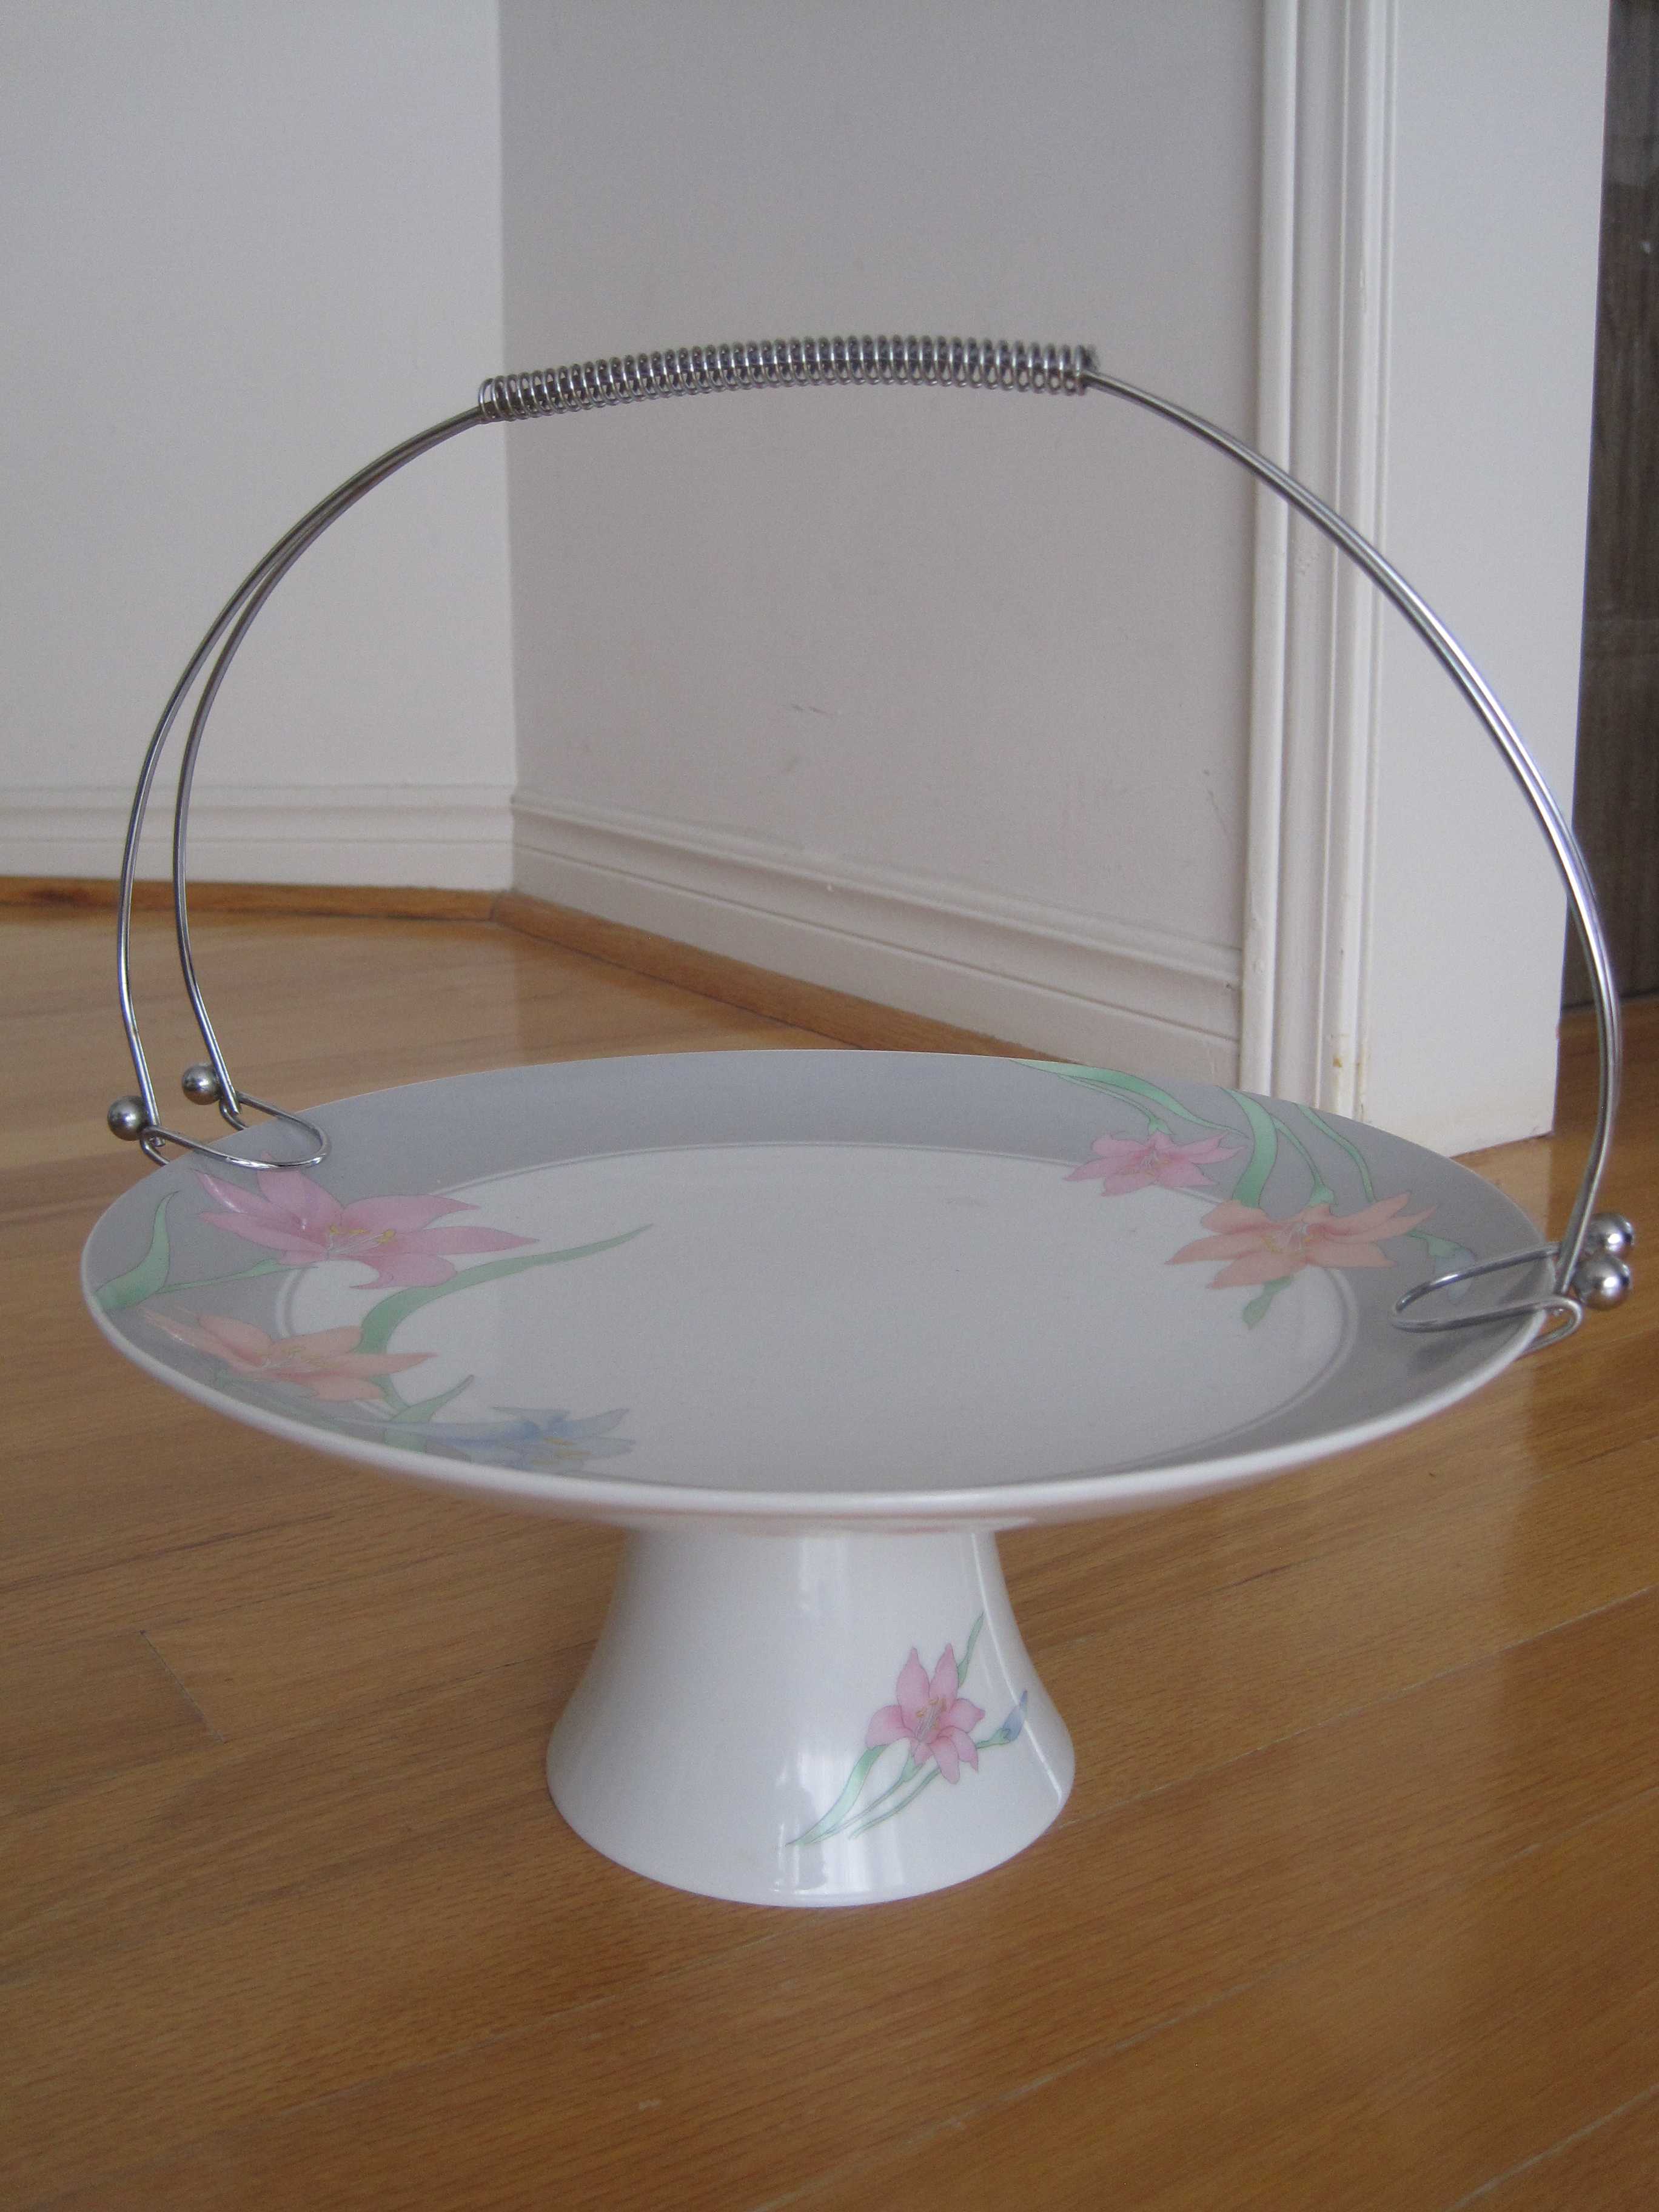
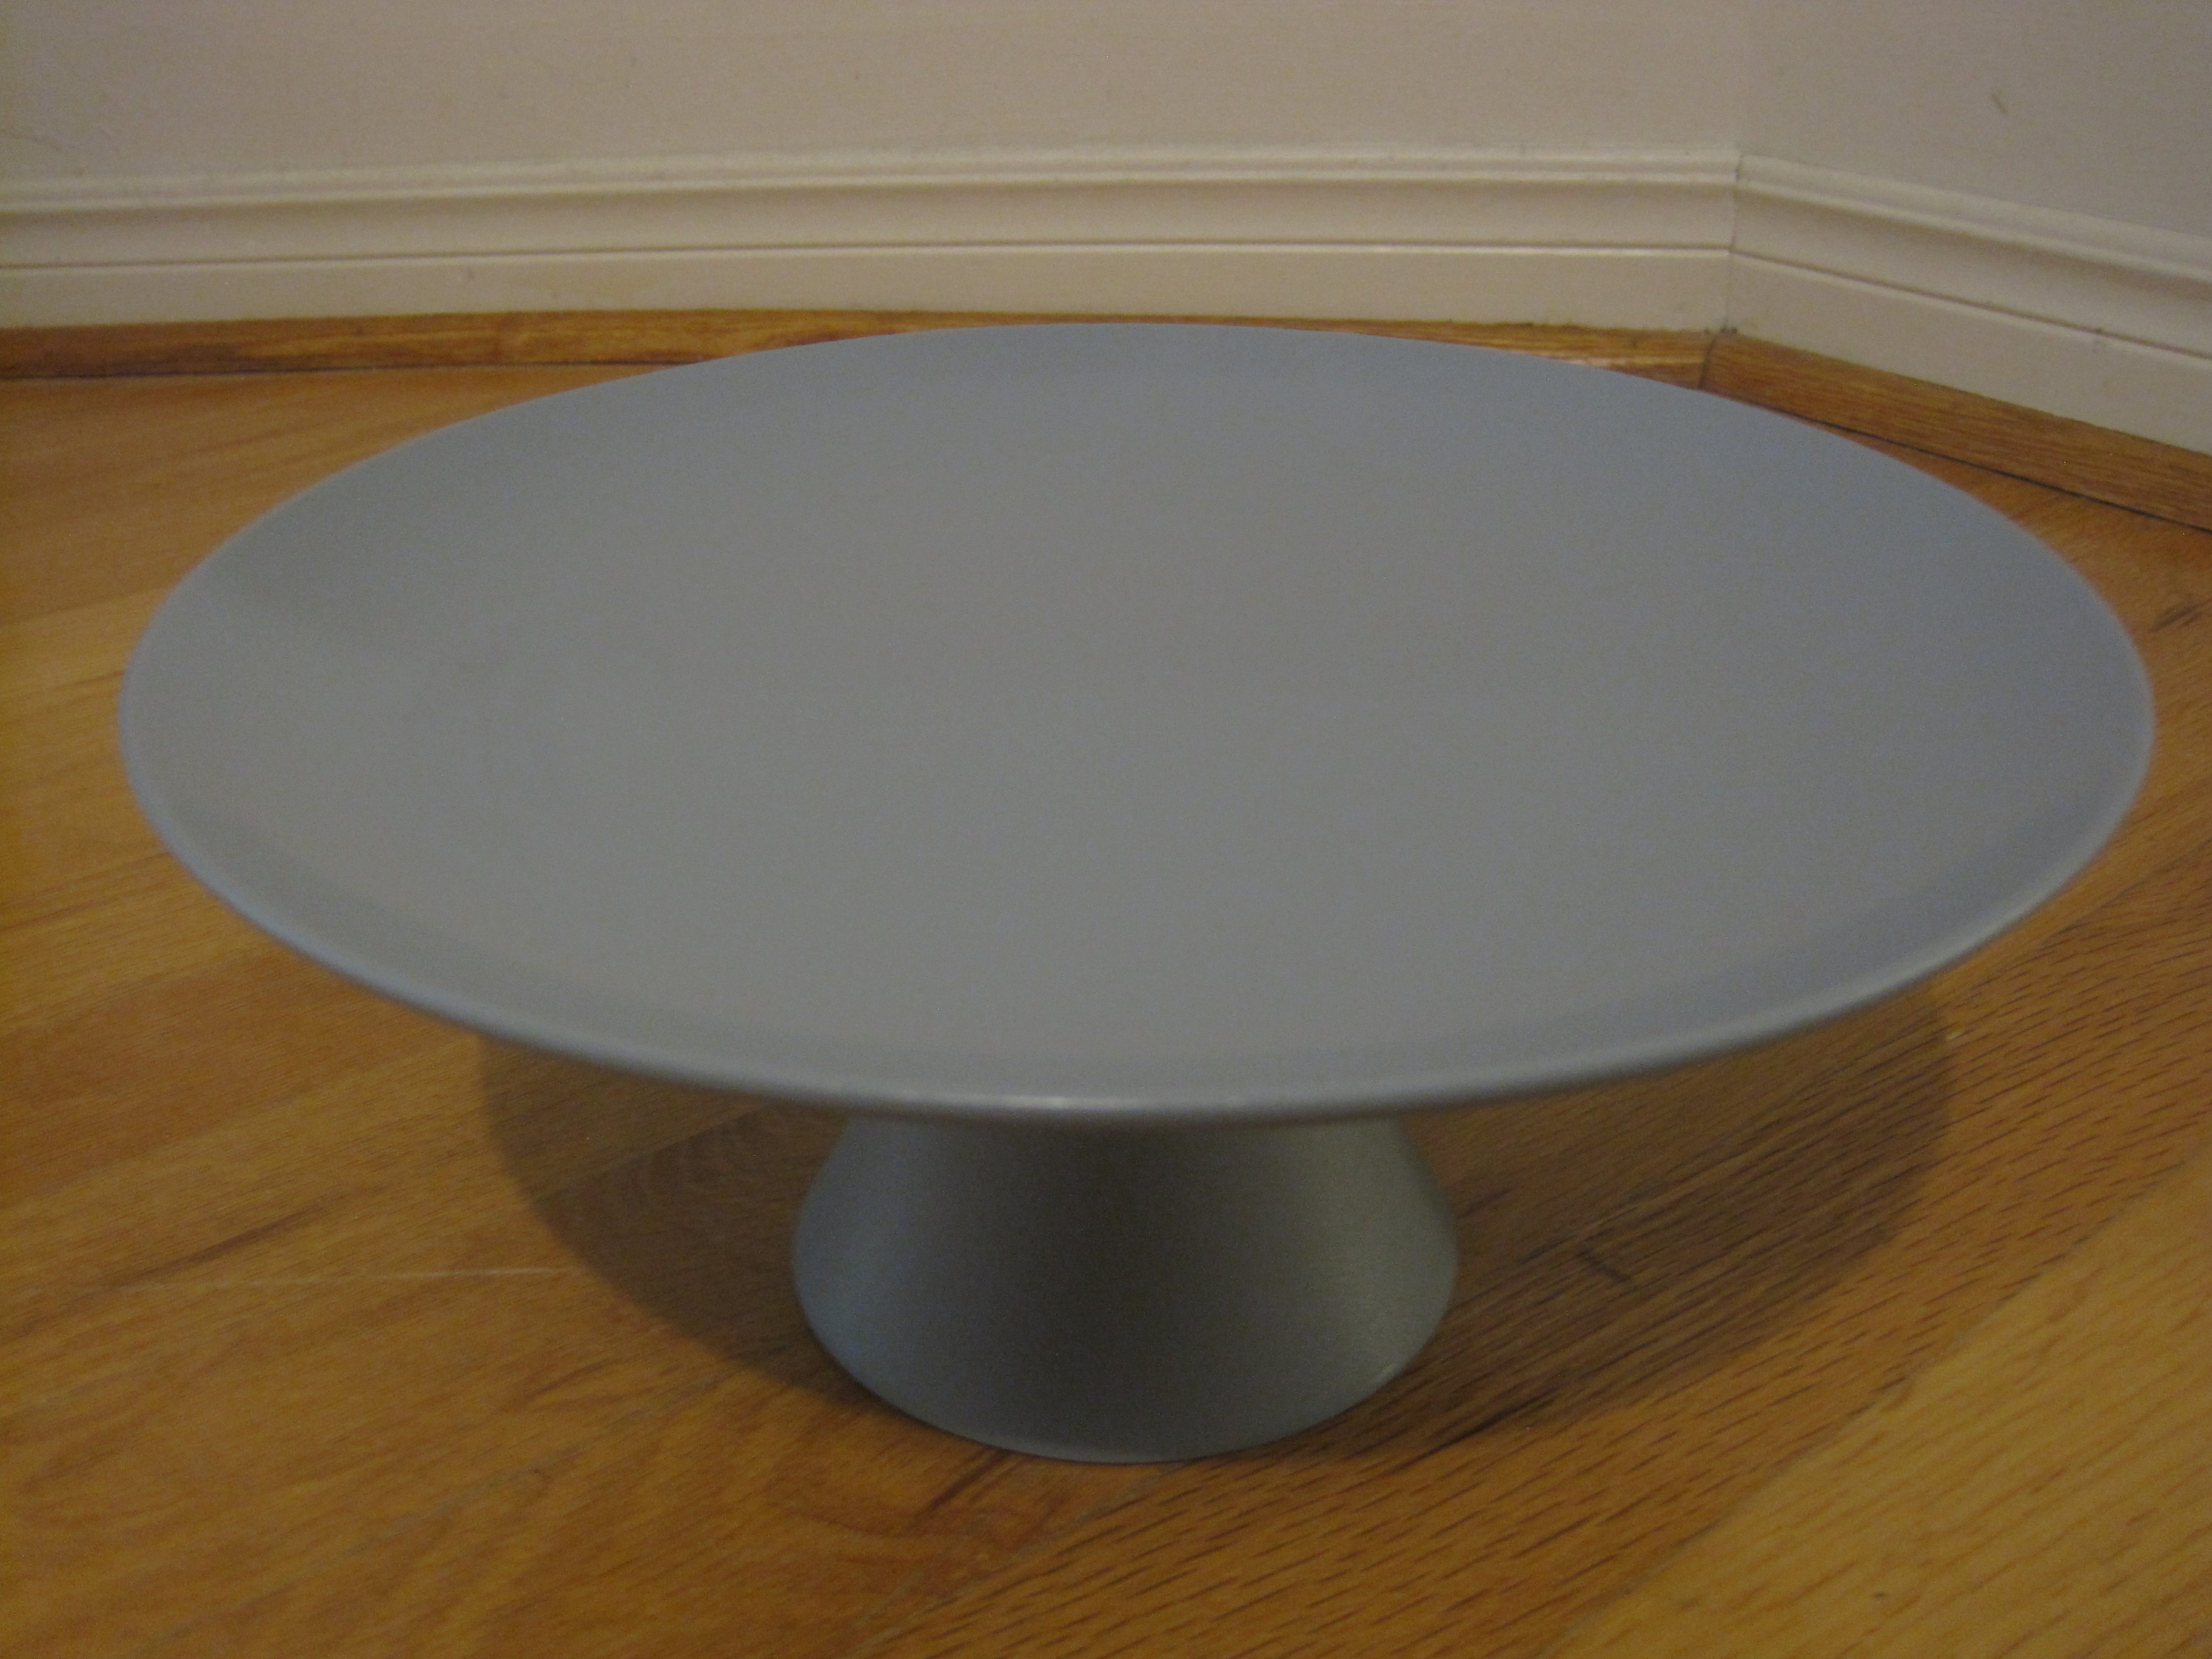
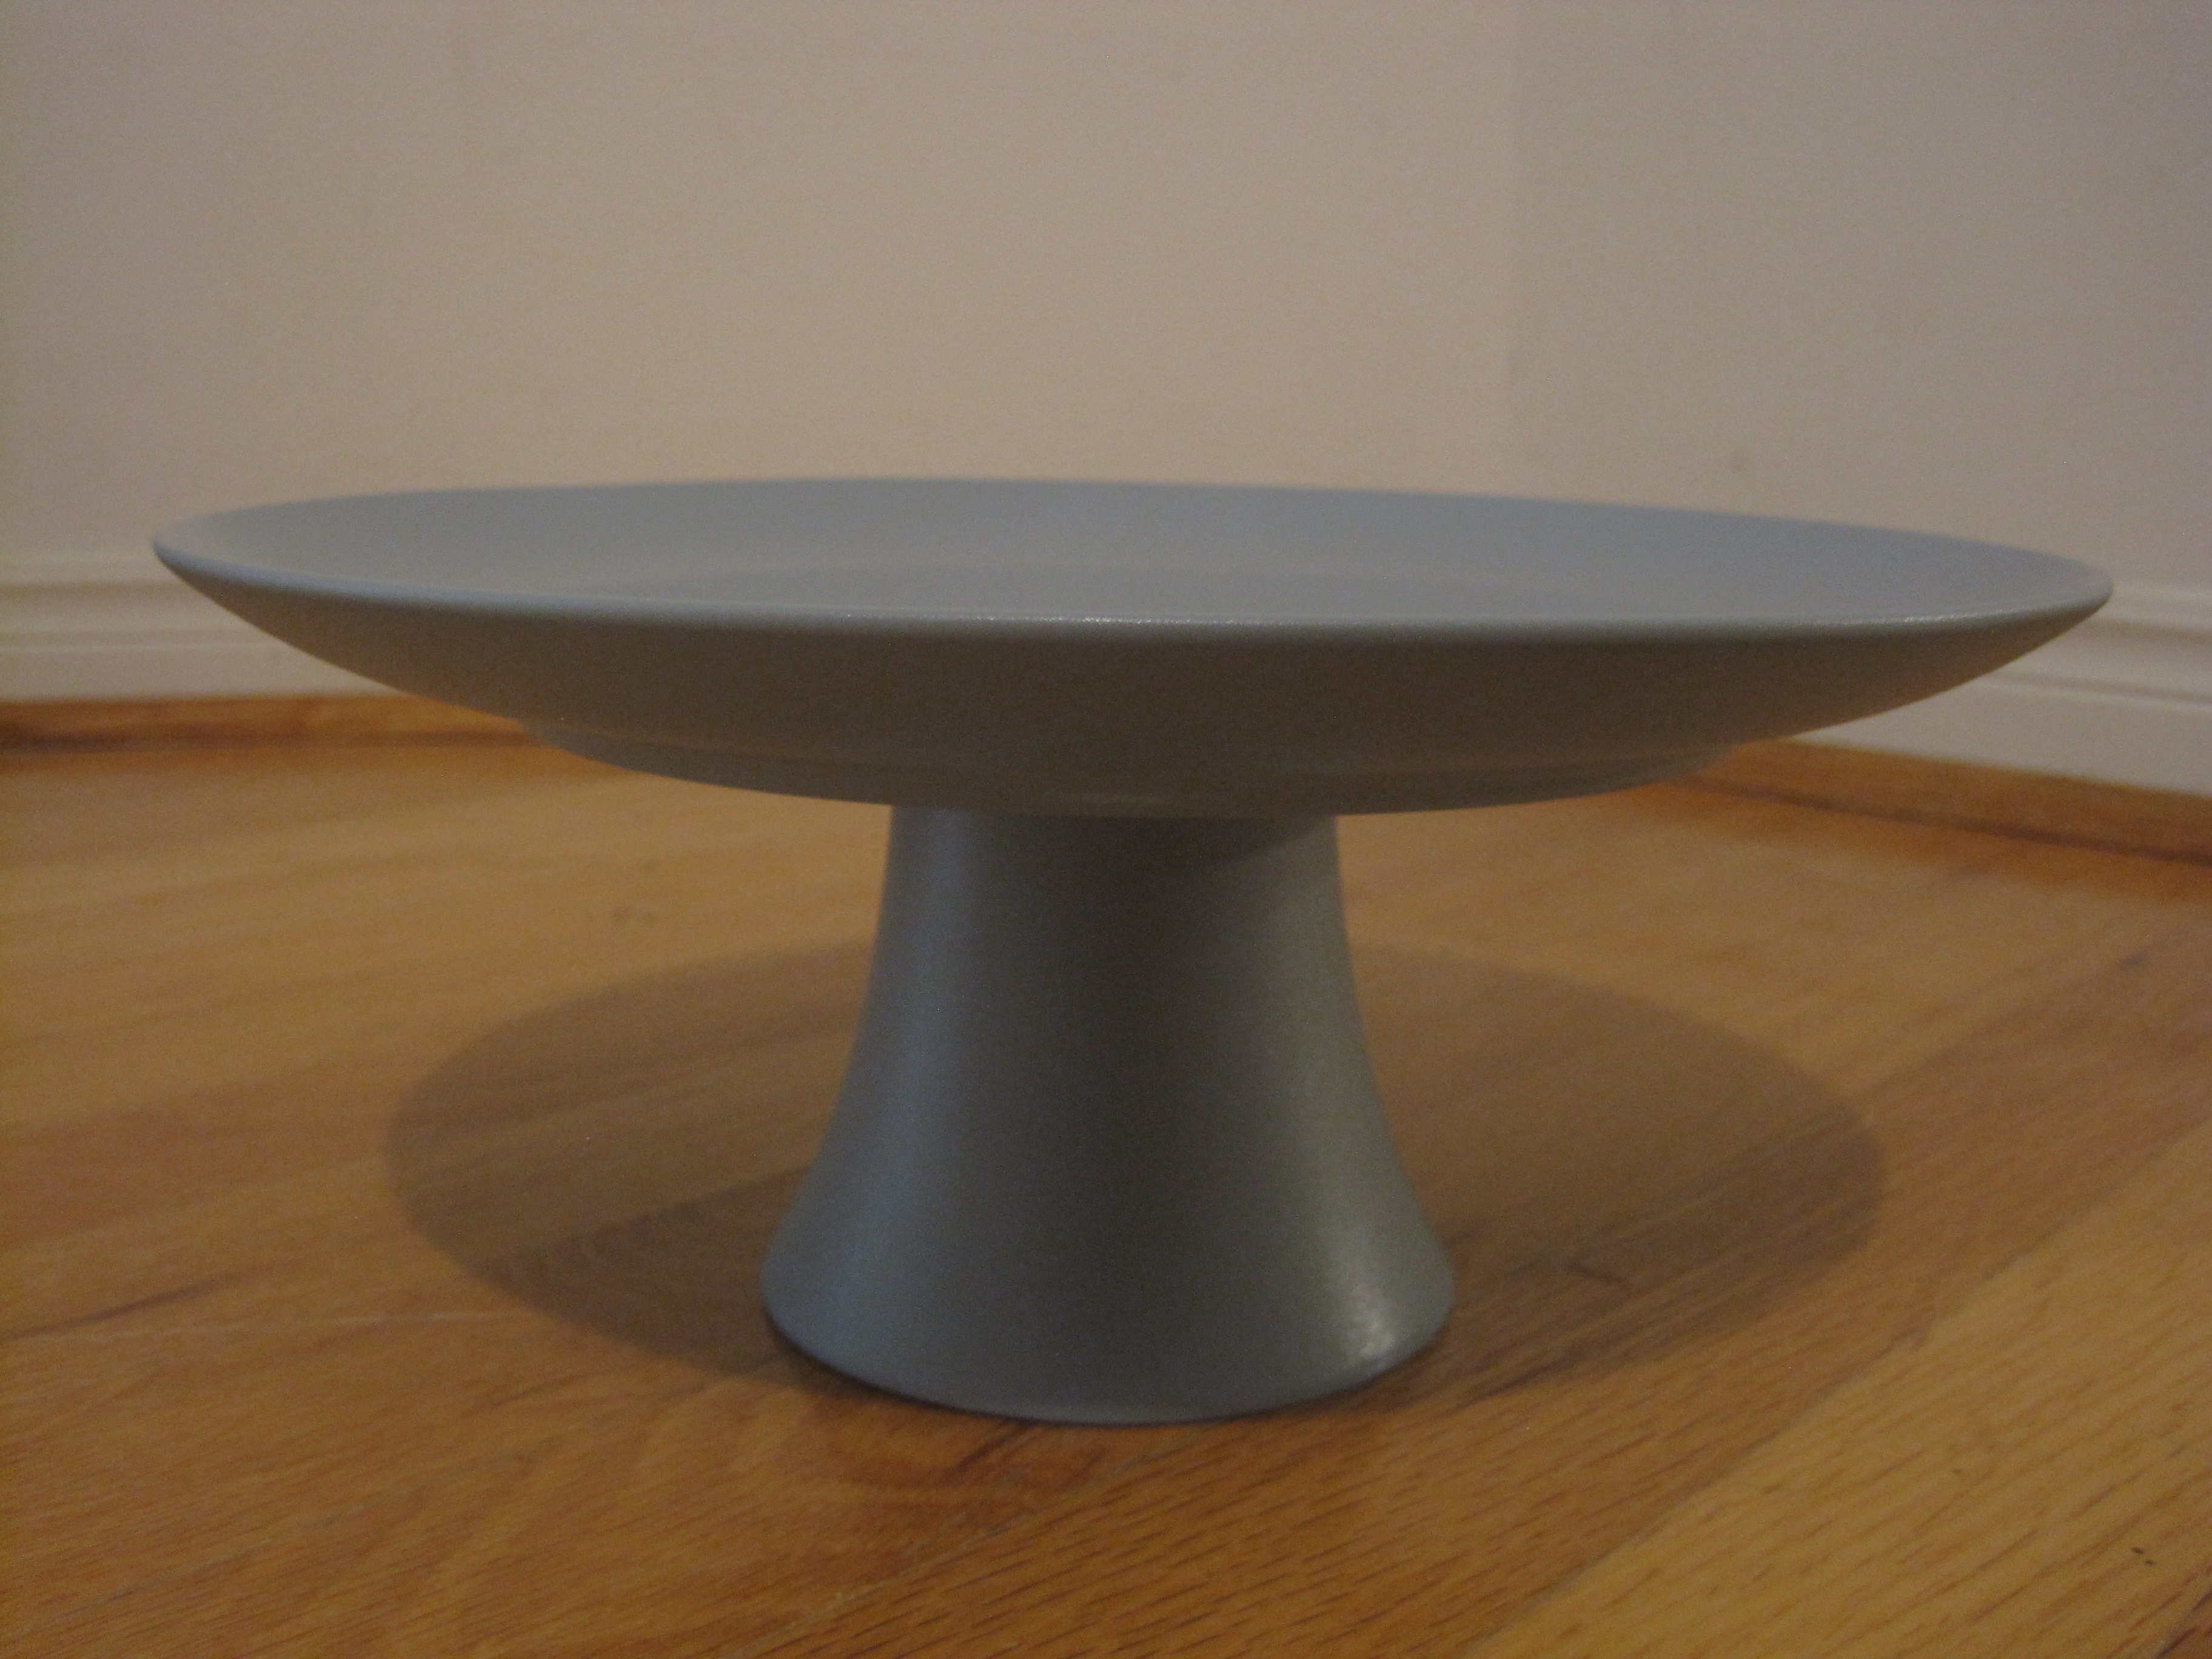
Photos below: You can see the before and after photos below. We found a used cake stand for $3 and we simply spray painted the whole thing.
Cake stands make great hostess or housewarming gifts. They can be used to serve or display anything. Just some ideas include any other baked goods, sandwiches, whole fruit (instead of using a fruit bowl), centerpieces, keys and mail (instead of using a valet tray), jewellery, etc. I’ve even seen glass domed cake stands used for terrariums, another great DIY project. There are many different ways to make one. Here are the instructions for I did it. I’ve also included other options as well as some tips on how to use spray paint. I hope you have as much fun making these as I did. Good luck with your thrifting!
How To Make a Cake or Mini Cupcake Stand (DIY Project)
I made simple cake stands that did not require drilling of any sort. I have only made one-tier cake stands so far, but you could easily make a two-tiered cake stand by simply stacking two separate cake stands. The best looking two-tiered cake stands consist of two identical bases (i.e. use a pair of matching candle sticks, one for each tier), and different sized plates that either come from the same dish collection or that have a similar style/design. The following guidelines for how to make a cake stand also apply to making mini individual cupcake stands. The only difference is in the size or scale of your materials.
Materials:
You will need a base and a top for each cake stand. Finding the right materials for constructing your cake stand is the most fun part of this process. This is the part where you can be the most creative and thrifty. I love scouring thrift shops, flea markets, garage sales, dollar stores, and craft stores for just the right pieces. You might be surprised by how many things you’ll find at home that are just sitting around collecting dust. Look for those outdated pieces that you don’t plan on using again, anyways. You could use anything, really, as long as you like the lines of it. I’ve even seen cake stands that were made out of lamp bases. We got lucky and found an “actual” cake stand in a thrift store for only $3. It was clearly outdated, as the manufacturer’s glue had visibly turned yellow, but it was in perfect condition, had simple classic lines, and it saved us the hassle of having to pair mismatched items and glue them together. It was an awesome and rare find. Hopefully we’ll get lucky with finding some nice glass domes.
When looking for the right base, consider candle stick holders, bowls, vases, glassware, drinkware such as wine glasses and cups, etc. Also consider egg cups and shot glasses, etc. if you’re making mini cupcake stands. Don’t worry about the material, finish, colour, or design. Do pay attention to textured patterns, though, as texture will not be hidden, and will in some cases be accentuated, by spray paint. The first and most important thing to look at is the lines/shape of your potential base. Look at it at eye level, right side up and upside down. I’ve found that most glassware and drinkware have more appropriate lines for a cake stand base when used upside down. If you like the look/shape of it, then there are a few other things that you need to check. Firstly, make sure that the “top” of your base has enough of a flat surface for secure attachment to the top piece of your cake stand. You especially need to check this on candle stick holders. It’s also important to make sure that your base is level. I’ve found lots of great looking candle stick holders that were wobbly on a flat surface. As well, you don’t want the “bottom” of your base to be so small that your completed cake stand won’t be sturdy. Next, ensure that your base is not top heavy. In other words, make sure that the “top” of your base isn’t heavier than the “bottom” of your base, as this will result in a cake stand that will topple over easily.
When looking for the right top, consider plates and other dishes, chargers, platters, fluted pie plates, wooden boards, etc. Also consider mini pie or tart pans, dip saucers, and craft wood circles or squares, etc. if you’re making mini cupcake stands. I’ve even seen a cake stand made out of a microwave glass turntable plate. Also, keep your eyes open for glass domes and keep in mind that depending on the design of it, you could easily replace the handle with cute knobs. Once again, don’t worry about the material, finish, colour, or design. Do pay attention to the lines, shape, size, and textured patterns. Personally, I prefer round cake stands, but I’ve seen great square ones that look more modern. In my opinion, the best cake stand tops have a very flat surface with or without a slight decorative lip. This makes finding the right plate more difficult, as most standard plates have a significant dip in the middle and/or an angled edge. But it’s worth the searching time, if you ask me, because it makes the right find that much more exciting. 🙂 Besides, cakes are flat, so it makes sense to use an as-flat-as-possible plate for your cake stand. This is the detail that will make your cake stand look store-bought and professional. One more thing to consider is whether or not the size of your potential top is appropriate for your needs. For example, if you want to be able to place a 10 inch round cake on your cake stand, then you need a top that has a diameter significantly larger than that. If you are concerned about your cake stand not being food safe, then one option is to use a clear, uncoloured glass plate and to only spray paint the bottom side of it. This way, the colour will show through, but the top of the glass plate will remain food safe.
To glue my cake stand base and top together, I used Elmer’s China and Glass Cement. It claims to go on clear and stay clear. I like that it comes in a 1 ounce bottle. From what I’ve read online, it seems like a lot of people are using Gorilla Glue or E-6000 Craft Adhesive. I’d also like to point out that if you only want to have a temporary cake stand, I’ve read that using a hot glue gun works well. Apparently, when you’re done using your glue-gunned cake stand, you just freeze your cake stand and scratch off the glue residue. This approach would make your favourite dishes more versatile and wouldn’t take up any precious storage space. If you try this, please let me know how it works out for you.
Please see below under Tips on How to Spray Paint a Cake Stand for the type and colours of spray paint that I used.
Assembly:
When matching a base to a top, the best way is to actually place the top on the potential base and look at it at eye level. Look at it up close and from a few steps away. See if the designs work well together and if you like the way they look. Consider the ratio of the height of the base to the width of the top; a large top does not necessarily look best on a tall base. Most importantly, make sure that the ratio of the diameter of the top to the diameter of the bottom of the base is not so large that your cake stand would compromise the sturdiness. Try different combinations before you choose one.
Once you’ve paired up your top and bottom, you need to decide which piece(s) you want to spray paint. If you’re going to spray paint the entire cake stand one colour, then glue the two pieces together before spray painting. If you’re only going to spray paint one of the pieces, then spray paint that piece first and then glue the two pieces together.
Prior to gluing the base to your plate, mark the centre point of the bottom of your plate using a pencil. Measure the diameter of the top of your base. Then, using masking or painter’s tape, create a square around the centre point of your plate that has the same width and height as the diameter of the top of your base. Make sure that you don’t have any tape on the inside of your square, because you will be gluing the base directly onto this exposed square.
When using the glue, follow the instructions on the packaging. I also recommend wearing clean surgical gloves during this process. First place the cake stand top on the floor (or work table) upside down. Apply the glue to the flat part of the top of your base. Be sure not to apply too much and not to apply the glue too close to the outer edges, as you don’t want much of the glue to squeeze out and become visible after the two pieces have been put together. Set the base in place within the square you outlined using tape. Press down firmly and hold for as long as the glue’s manufacturer recommends. Then remove the pieces of tape without shifting the base out of place. Carefully stack a few heavy books on top of your cake stand until the glue has dried completely. Then you will be ready to spray paint your cake stand if so desired. Please see below for tips on spray painting.
Please note that you don’t have to spray paint your entire cake stand, or any part of it, if you don’t want to. Not spray painting makes for an incredibly easy and budget friendly cake stand. I’ve seen cake stands where people deliberately contrasted ceramic, china, or glass plates with glass or metal candle stick holders and left them as is. In such cases, you simply need to glue two pieces together and then you’re done.
Lastly, accessories. If you happen to have or find really cute miniature figurines of a bird, lady bug, be, or woodland creature, you could spray paint it (I think a glossy white would work best), or leave it as is, and glue it so that it is sitting or perched on the edge of your cake stand. I’ve seen people add accessories such as jewels, beaded garland, decorative trims, etc. to cake and mini cupcake stands.
Tips on How to Spray Paint a Cake Stand (and Other Things)
This was my first time using spray paint. I was both excited and nervous to try it. You see, mistakes made with spray paint feel more permanent than those made with brush paint. However, spray painting feels like a quicker process, is easy to get the hang of, and results in a smooth and consistent finish that cannot be easily achieved using brush painting. I also enjoy not having to wash paint brushes and trays. I love spray painting now and can’t wait to get more practice. Hopefully my tips below will help you avoid making the same mistakes that I did. Please note that I have not yet spray painted plastic or wood yet, so my tips below only apply to glass, ceramics and metal.
Spray Paint:
There are several different brands of spray paint on the market. Please note that the ease of use, extent of coverage, and resultant smooth finish are dependent on the quality of spray paint and skill. Since I don’t have the skills, I chose to use a brand that seemed to be well received according to online reviews. I used Rust-Oleum’s Painter’s Touch Ultra Cover 2X. It will apparently stick to any material, including plastic. Although I have nothing to compare it to, I was happy with it. I would like to note, though, that Rust-Oleum’s paint spray colours are quite limited. So if you’re comfortable and experienced with using spray paint, I’d recommend that you try other brands to expand your options for colours. Please let me know if you’ve found anything comparable or better!
For the purpose of spray painting cake stands, I think that the glossy colours look better than the matte ones. I used the colours Gloss Winter Gray and Gloss Sun Yellow. The Gloss Winter Gray turned out to be more of a blue gray.
If you would like to make your cake stand near food safe, you might want to consider finishing the spray painted areas with Rust-Oleum Zinsser 408 Bulls Eye Clear Shellac Spray.
In Preparation:
Although it is recommended to prep your pieces by sanding glossy finishes and applying a coat or two of primer spray paint, I personally haven’t done any of those things. I am certain that if I followed those recommendations, my cake stands would have better, smoother finishes and longer durability. However, I am too tired and too lazy to bother. I did, however, wash my pieces well using soap and hot water and, once they were dry, I wiped them down with isopropyl alcohol using lint-free pieces of gauze. Be sure to do this while wearing clean, surgical gloves. Others recommend wiping down your pieces with isopropyl alcohol at least two times, but I only did it once. This step removes any grease and, hopefully, debris that might prevent good adherence to the spray paint. Also, I spray painted at least two coats (three is probably better) of spray paint onto my unprimed pieces and I started with a light coat covering.
Once your pieces are primed, you need to suit up before you can begin spray painting. I highly recommend wearing safety goggles and a mask. Also, I wore surgical gloves at all times. In terms of protective clothing, be sure not to wear anything that you might want to keep. A bandana or hat covers your hair nicely, long sleeves and long pants are a good idea (I learned this the hard way), and don’t forget to wear socks.
Spray painting needs to be done in a well ventilated area, preferably outside. An open garage would work well. I did my spray painting in my backyard. Be sure to choose a day that is not too breezy. I used an old plastic lawn table that was covered with a disposable plastic table cloth or old newspaper that had been taped down using masking or painter’s tape. Be sure to only use things that you don’t care about, because spray paint, like brush paint, has a way of getting everywhere.
Instructions and Tips:
1. Follow the spray paint manufacturer’s instructions.
2. Shake the can very very well prior to starting. Shake well between sprays as well.
3. It is very important not to apply too much spray paint at one time. If you apply too little spray paint, you will get a spotty and blotchy finish. But this can be fixed easily with multiple coats. If you apply too much pressure, however, you will get thick drips of spray paint or unsightly air bubbles in the finish. These mistakes are more time consuming to fix. You would have to wait for the spray paint to dry completely (which takes 48 hours), sand it down, and then reapply spray paint. This is also why it is important that you hold the can approximately 10 inches away from what you are spray painting and that you apply multiple light coats of spray paint as opposed to a single heavy coat. I found that there was a very fine line between applying sufficient weight to achieve maximum gloss effect and applying too much and ending up with thick drips. So, before you start, you might want to practice applying different pressures to the spray tip so that you have an idea of how to achieve the finish that you want.
4. I recommend spray painting the bottom of your cake stand (or bottom of your base, if you’re just spray painting the base) first. That means that you should take the time to apply as many coats as you need and allow it to dry completely before turning it over and spray painting the top.
5. Before you start painting the base or the bottom of your cake stand, prop it up on something solid and sturdy that you don’t care about. Make sure that what you use is smaller in width than the part that is resting on it (i.e. the side that is facing down). This will allow for better coverage of the edges and will prevent the wet edges from sticking to the newspaper or plastic sheet that you’re using. I learned this the hard way. 🙂
6. When spray painting, use smooth, continuous sweeping motions to create lines that overlap up to half of the previously painted line. Don’t forget to shake the can between sprays.
7. You will find drying time guidelines on the can. Note that even if your spray paint is dry enough to be handled, this does not mean that it is dry enough to be placed on a clean surface. I learned this the hard way. I had to scratch pieces of paper off of the bottom of my first cake stand and re-paint it. So you really do need to wait for the spray paint to dry completely before turning it over, transferring it, using it, or spraying the other side.
8. To improve the durability of your spray painted finish and, more importantly, to make your cake stand practically food safe, Darci from the good life blog recommends applying Rust-Oleum Zinsser 408 Bulls Eye Clear Shellac Spray. Please note that her “food-safe” recommendation is only based on her personal research, but it sounds good to me. Alternatively, you could just place a liner (i.e. doilies, napkins, pretty print paper, etc.) on the cake stand to separate your food from the finish. Another alternative is to use a clear and uncoloured glass plate and to only spray paint the bottom side of the glass plate. This way the spray paint colour will be visible but the top of the plate will still be food safe.
9. Be very careful when handling your spray painted items, especially spray painted glass, as the finish will chip easily. Using multiple light coats will help with the durability, as will using a top coat of shellac spray. Always wash your cake stand by hand using soap, warm water, and non-abrasive sponges.
Please feel free to share your tips!

I’m glad you finally did this! And I’m glad I was the one who gave you that little push you needed 😉
[…] PDF File Name: Diy cake or mini cupcake stands (plus tips for spray Source: cookingwithalison.com » DOWNLOAD « […]
Thank you for all the useful information and great ideas. You have inspired me to make my own cake stand!
I’d love to see pictures of your cake stand! I’m sorry for the delayed reply!
Rust-Oleum Zinsser 408 Bulls Eye Clear Shellac Spray is NOT food safe. You should not put any off you are planning on ingesting directly on the surface; you should also not cut foot you are going to eat on the shellac… this comes directly from Rustoleum manufacturer.
Thank you for letting us know!