I remember the first time I tried this dish. It was at Magic Wok Restaurant in Markham, ON and my family liked it so much that for a long time after that, we ordered two of them every time we went. The sauce and muy choi are a combination of salty, sour, and sweet flavours that are delicious on plain white rice. The meat is tender from a multi-step cooking process. But the best part is the rind. The fat gets broken down into a soft and slightly gummy texture. Since most of the fat has been boiled and steamed out of the rind, you get all of the deliciousness without the grease. If you make this a day in advance, you can remove even more fat after it chills through in the refrigerator.

Photos below: Chinese salted (sometimes termed preserved) mustard (“muy choi”) just removed from the package (left) and fanned out (right).

Chinese Steamed Pork Belly with Muy Choi Recipe
1 1/2 lb (approx.) pork belly, rind on
100 g salted/preserved mustard (Note: There is a salty version of this and a sweetened version of this. Be sure to choose the sweet version. Otherwise this dish will be much too salty.)
1 tbsp shaoxing wine
dark soy sauce (measurements provided throughout instructions)
soy sauce (measurements provided throughout instructions)
granulated white sugar (measurements provided throughout instructions)
a few dashes of ground white pepper
vegetable oil
Rinse the mustard very well under cool running water. Sand is often trapped between the leaves, so be sure to clean it well. Then put it into a heat proof colander and pour over several cups of boiling water to rinse it further. Cut off and discard the tough, fibrous root/stem. Then cut the remaining mustard into small pieces and mix with 2 tbsp dark soy sauce and 1 1/2 tsp sugar. Set aside.
Bring a pot of water with the pork belly to a rolling boil over high heat. Allow it to boil for 7 to 10 minutes, depending on the thickness of your piece of meat. Rinse the pork belly well under cool running water and pat dry with paper towels. In a small bowl mix together 1 tbsp dark soy sauce and 1/2 tsp sugar. Rub this into the meat side of the pork belly. Heat a skillet over medium high heat. Lightly coat the bottom of the pan with vegetable oil and sear the skin side of the pork belly until carmelized, about 2 minutes.
In a medium sized bowl, mix together the muy choi, 1 1/2 tbsp dark soy sauce, 1/2 tbsp soy sauce, 1 tbsp shaoxing wine, 1 tbsp sugar, and a few dashes of ground white pepper. Marinate the pork belly, meat side down, in this for at least 1 hour.
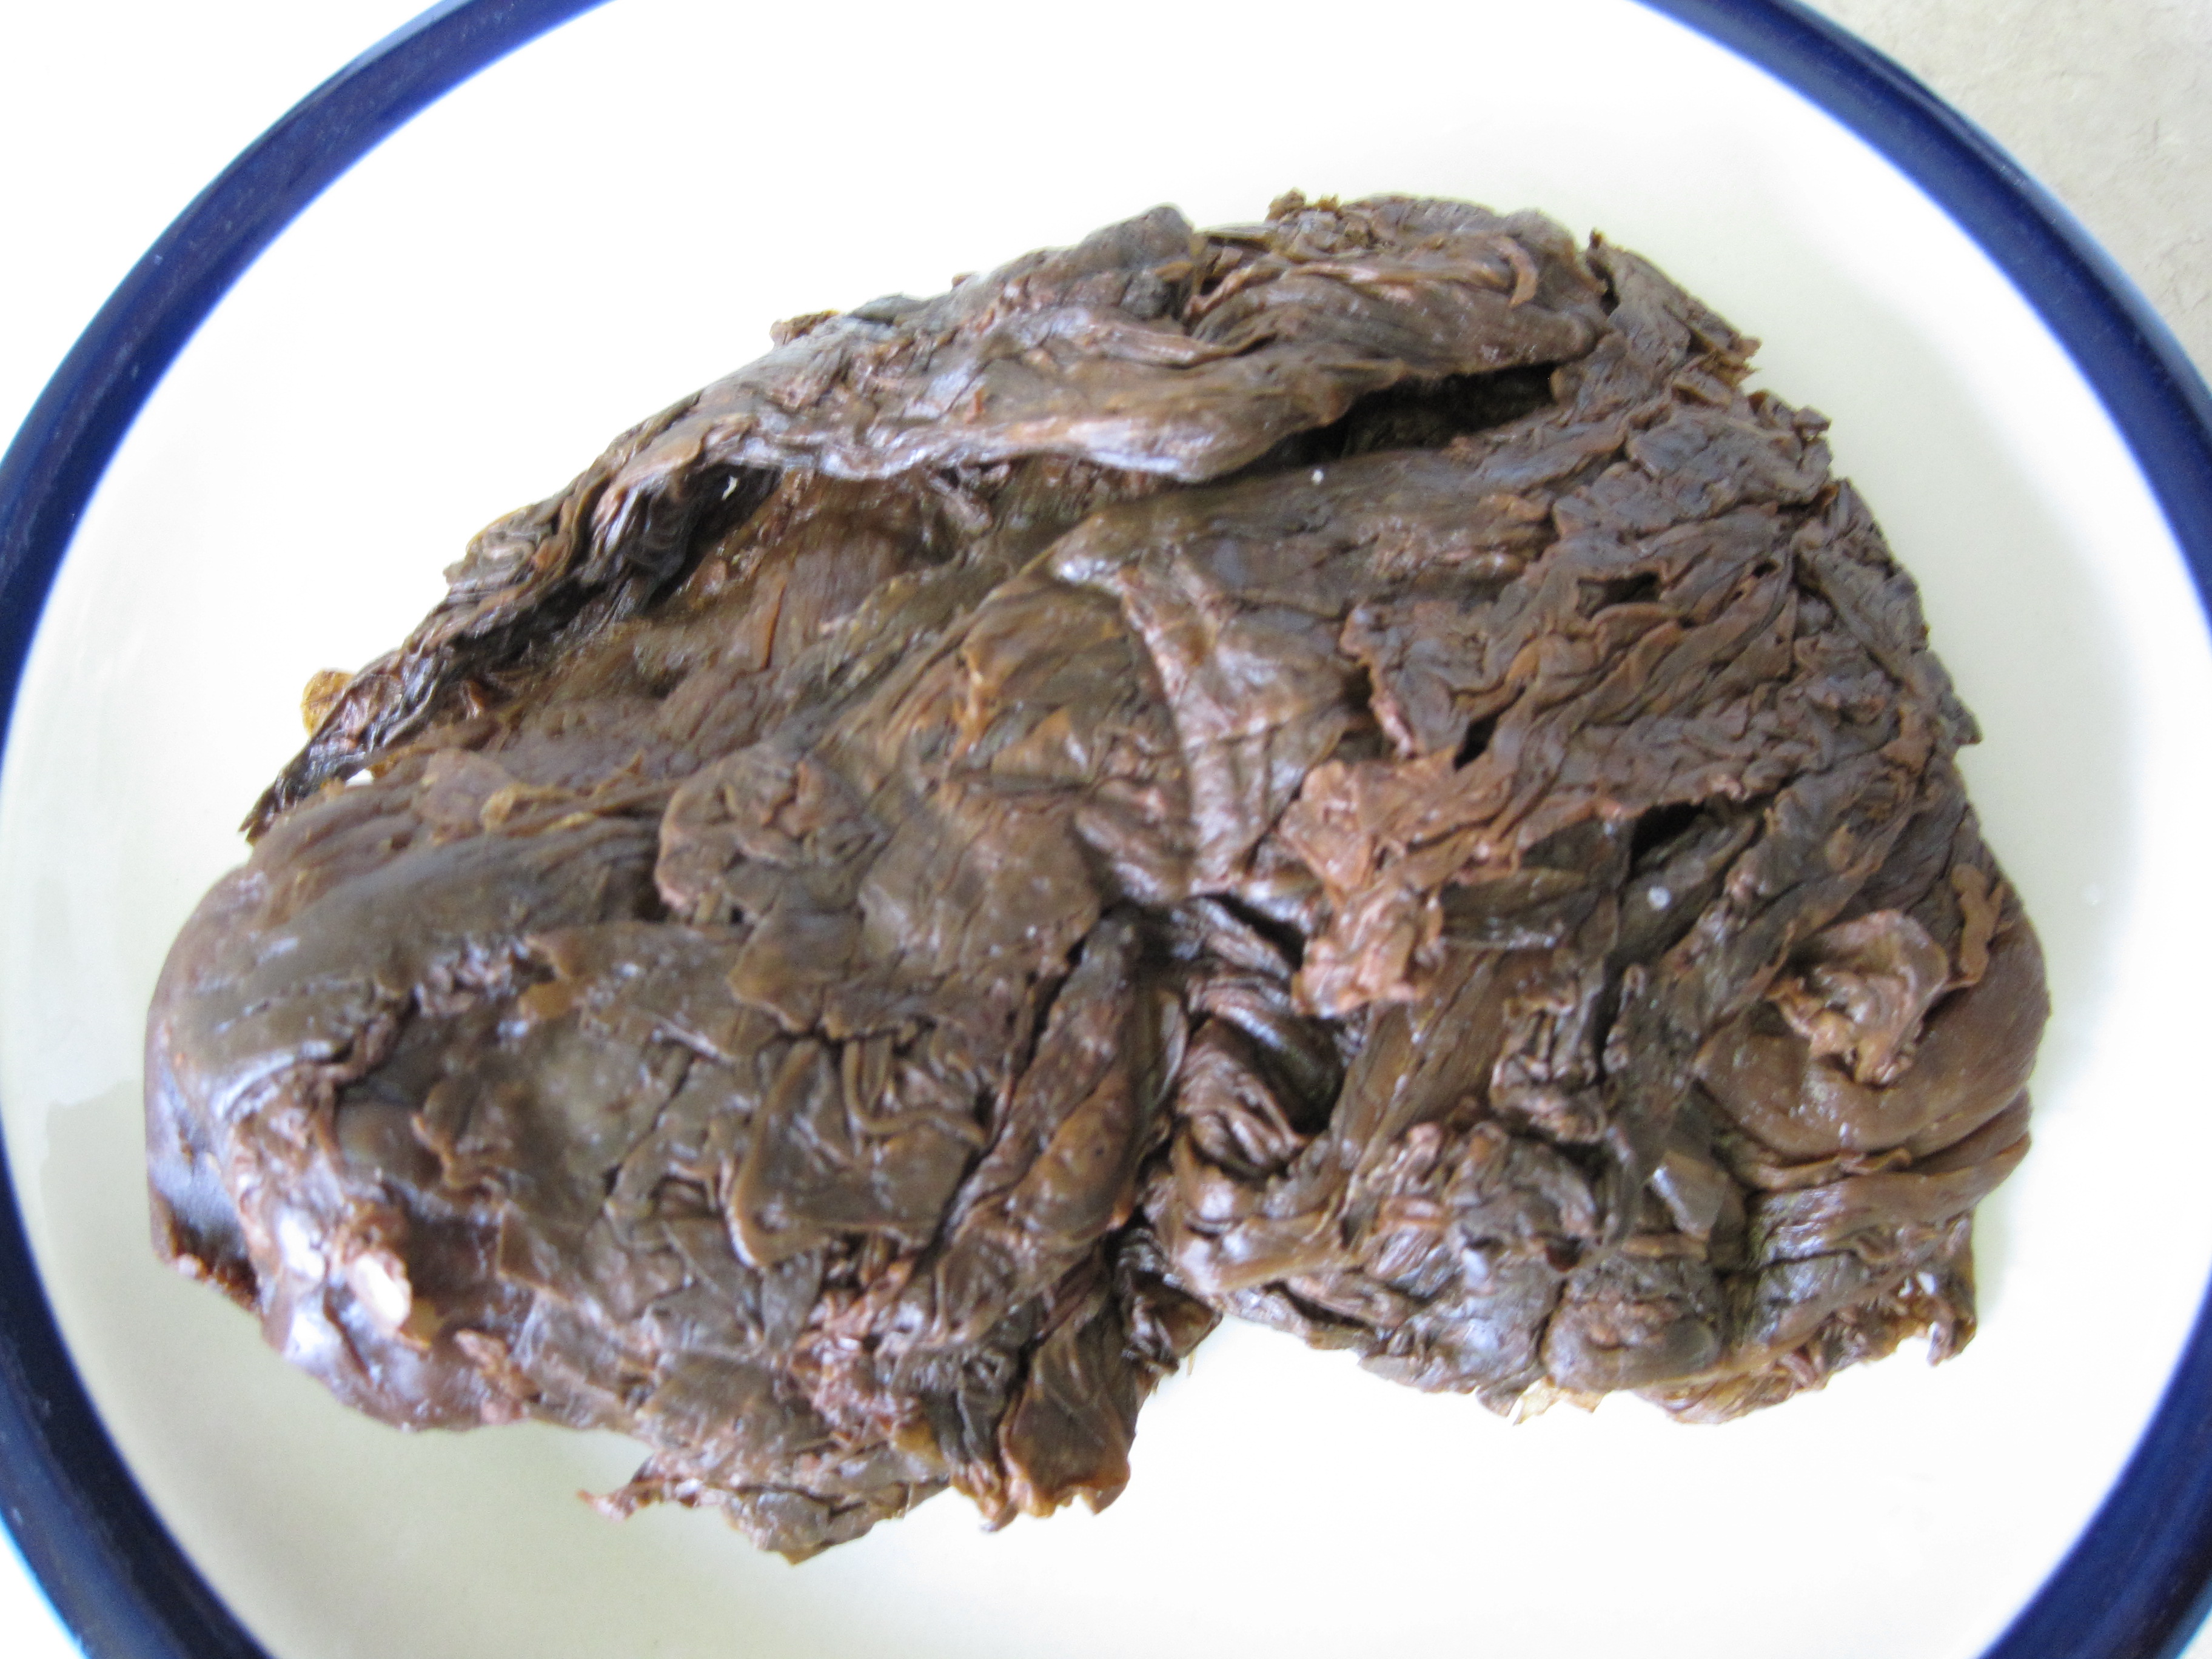
Set up your steaming equipment. (See my post on How to Steam Cook Food here.) I use a steamer rack in a wok. Bring the water to a rolling boil. Transfer the pork belly and marinade into a heat proof dish, meat side down and place into the steamer. Steam for 1 hour. Skim off the fat that is floating on the surface of the marinade. Then cut the pork belly into 1/2 inch thick slices and return them to the steaming dish. Place muy choi and marinade in between the slices. (See photo below.) Steam for another hour.

Skim off the fat that is floating on the surface of the marinade. Enjoy with plain white rice while it’s still very hot.
Store leftovers in the refrigerator. Prior to reheating leftovers in the steamer, scoop off the white coloured fat that has solidified on the surface and discard. Some people prefer to make this dish at least a day in advance so that they can remove the solidified fat prior to serving. This dish freezes well too. Simply defrost prior to reheating in the steamer.

I love this too. It is very popular dish in China. I also tried to cook this.
Thank you so much for posting a comment 🙂
Thanks for the recipe Alison!
I was strolling around an Asian market the other night and saw some side pork.
It reminded me of a dish I love, but don’t quite know how to make.
I have seen my mom prepare this dish so many times as a child, but was never there for the whole process.
You have no idea how excited I am to try out your recipe!
Please keep up the good work.
I’m looking forward to your future articles.
Thanks again!
Thank you so much for your comment! I really hope the recipe works well for you! Remember to adjust the flavours to match how you prefer the sauce. Let me know how it goes 🙂